Setting up a DHCP server in packet tracer
Setting up a DHCP server and configuring the router as DHCP a server in the Cisco packet tracer
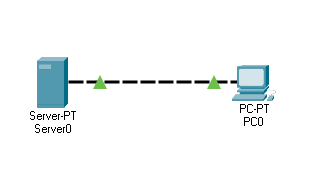
In the Cisco packet tracer, various endpoints are given that we can use to create networks and one of them is the server. This single server provides lots of services like HTTP, FTP, email, DHCP, etc.
Before enabling the DHCP service on the server, we must assign the static IP address to the server to establish connectivity.
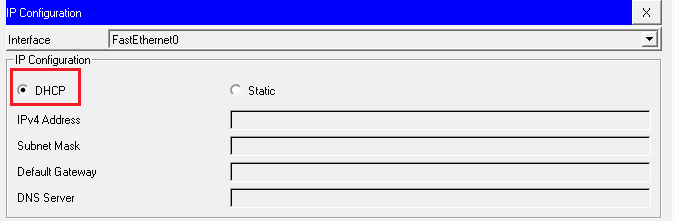
PC should be configured to accept IPs from the DHCP server so we will change the IP configuration from static to DHCP.
To configure the DHCP service, we have to click on the DHCP tab and turn on the DHCP service.
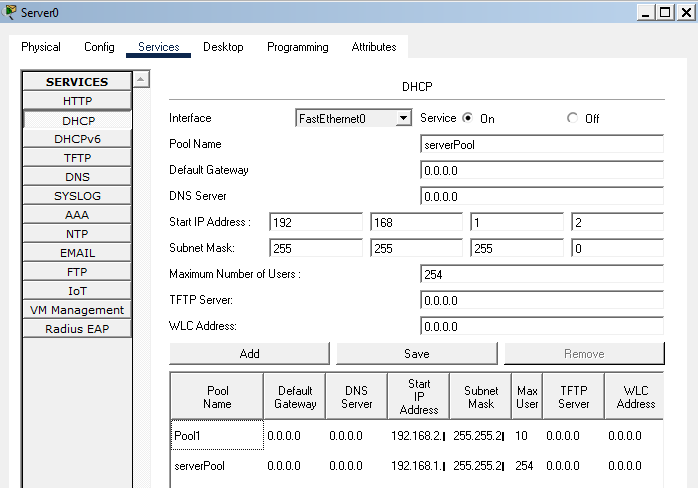
We can change the default name of the pool which is serverpool.
We can set up the default gateway and DNS if required as per our network design.
Define the start IP address so the server will issue the IP address according to our scope mentioned.
We now have to define the maximum number of users so the server will not lease IP addresses to the devices if the limit is reached. In this example, the defined limit is 10, now the server will only release 10 IP addresses even if the mentioned IP range scope has a high number of IP addresses.
Multiple pools can be added to the server and if any pool is not required then it can be removed easily.
One extra pool name as pool1 has been added to the server with a different IP range so now the server has a lot more IPs to assign.
Now, as we are done configuring the DHCP on the server. We will configure the router as a DHCP server in the following packet tracer lab.
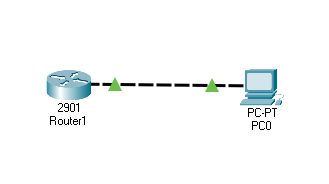
We have to configure the same parameters on the router as well however we have to use the router’s command-line interface to set up the routers with DHCP capabilities.
We will configure DHCP on the Cisco router with 4 easy steps.
Creating a pool and naming the pool. In this lab, we have given the name ‘dynamic’ to the DHCP pool.
Command : Router(config)#ip dhcp pool Dynamic
Defining the ranges of the addresses that the router will lease to the clients
Command: Router(dhcp-config)#network 192.168.1.0 255.255.255.0
Excluding the range of IP addresses that we do not want the router to lease, this comes in handy when we want to keep some IPs that can be assigned to the devices statically whenever required in our network. In this example, we have assigned IP 192.168.1.1 to the router so we should exclude this IP to prevent any IP address conflict.
Command: Router(config)#ip dhcp excluded-address 192.168.1.1 192.168.1.5
Finally, we will enable the DHCP service on the router using the following command.
Command: Router(config)#service dhcp
Additionally, the time limit can be defined for the lease. For e.g, if we want the router to lease IP for a certain period then we can configure the same using the following command
Command: Router(config)#lease 10 10 10
This would mean that router will lease the IP for 10 days 10 hours and 10 mins. After the defined period, the client will be given a new IP address.
Or
Use the following command to lease the IP for an indefinite time.
Command: Router(config)#lease infinite
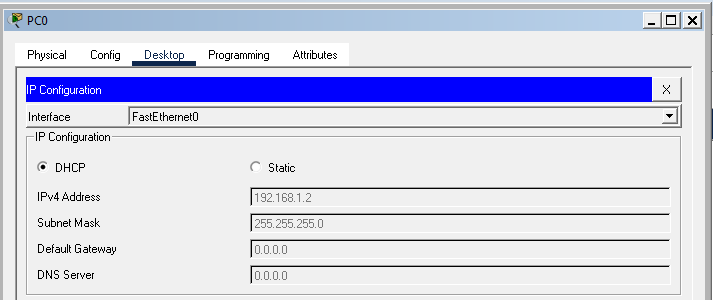
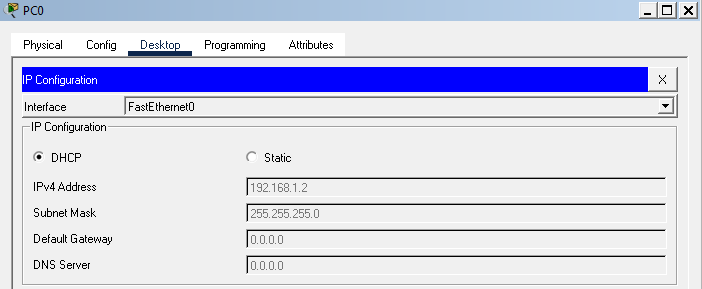
In the above image, we can see that the PC has received the IP address from the router so now the router is acting as a DHCP server.